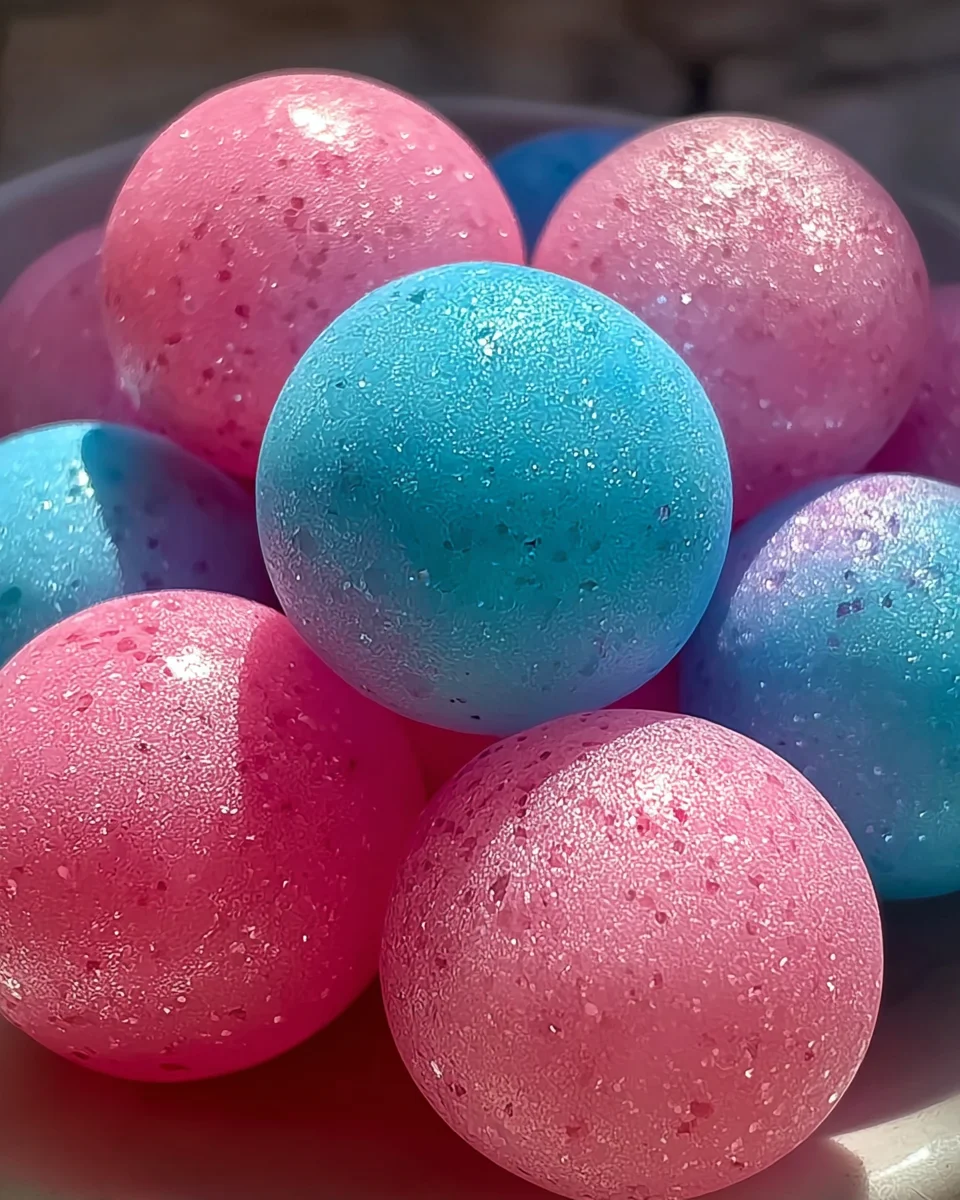
Sugar Cookie Icing That Hardens
Sugar Cookie Icing That Hardens is a game-changer for your holiday baking! This simple icing recipe creates a beautiful finish on sugar cookies, making them perfect for any occasion. Whether you’re decorating for Christmas, birthdays, or just because, this icing hardens to perfection, ensuring your cookies look stunning and stay fresh. Enjoy the ease of preparation and versatility that comes with this delightful recipe!
Why You’ll Love This Recipe
- Quick Preparation: This icing can be made in just 5 minutes, allowing you to spend more time enjoying your cookies.
- Perfectly Hardens: The icing dries firm, making it ideal for stacking and storing decorated cookies without smudging.
- Customizable Colors: With gel food coloring options, you can create vibrant designs suited for any celebration.
- Versatile Uses: Besides sugar cookies, this icing is also great for other baked goods like cupcakes and cakes.
Tools and Preparation
To create perfect Sugar Cookie Icing That Hardens, having the right tools makes the process easier and more enjoyable. Below are essential items you’ll need.
Essential Tools and Equipment
- Mixing bowl
- Sifter
- Whisk or spoon
- Measuring spoons
- Airtight container
Importance of Each Tool
- Mixing bowl: A sturdy bowl allows ample space for mixing ingredients smoothly.
- Sifter: Sifting powdered sugar ensures your icing is lump-free and achieves a silky texture.
- Airtight container: Storing your decorated cookies in an airtight container keeps them fresh longer.
Ingredients
Here’s what you’ll need to make Sugar Cookie Icing That Hardens:
For the Icing
- 2 cup powdered sugar
- 1 & 1/2 tbsp corn syrup
- 1/2 tsp vanilla extract
- 1 & 1/2 tbsp milk or water (cold)
- gel food coloring
How to Make Sugar Cookie Icing That Hardens
Step 1: Sift the Powdered Sugar
- In a medium or large mixing bowl, sift the powdered sugar. This helps avoid lumps that can affect the texture of your icing.
Step 2: Combine Ingredients
- Add in the corn syrup, vanilla extract, and milk or water.
- Stir vigorously until the mixture becomes smooth and well combined.
Step 3: Adjust Consistency
- If needed, add more milk or water gradually to reach your desired consistency. The icing should slowly fall off the spoon while leaving a thick layer behind.
Step 4: Color Your Icing
- If you want different colors, divide the icing into smaller bowls. Add gel food coloring as desired to achieve vibrant hues.
Step 5: Decorate Your Cookies
- Use the icing immediately to decorate your cookies. Let them set at room temperature before storing them in an airtight container to maintain freshness.
How to Serve Sugar Cookie Icing That Hardens
Serving sugar cookie icing that hardens can elevate your holiday baking experience. Here are some delightful ways to present and enjoy your beautifully decorated cookies.
Festive Cookie Platters
- Arrange your iced cookies on a colorful platter for a stunning presentation at holiday gatherings.
- Add some sprigs of greenery or seasonal decorations for a festive touch.
Gift-Wrapped Treats
- Package your iced cookies in clear bags tied with ribbons to create charming homemade gifts.
- Include a personalized tag to add a special touch for friends and family.
Themed Cookie Stations
- Set up a cookie decorating station at parties where guests can decorate their own cookies with the hardening icing.
- Provide various colors and sprinkles to encourage creativity and fun.
Cookie Jars
- Fill mason jars with assorted iced cookies, perfect for gifting or as table centerpieces.
- Layer different decorated cookies for an appealing visual effect.

How to Perfect Sugar Cookie Icing That Hardens
Perfecting sugar cookie icing that hardens is essential for achieving that professional look. Here are some tips to help you get it just right.
- Sift the powdered sugar – This ensures there are no lumps, creating a smooth icing texture that applies easily.
- Adjust consistency carefully – Start with small amounts of liquid; you want the icing to be thick yet flow easily off the spoon.
- Use gel food coloring – Gel colors create vibrant hues without altering the icing’s consistency, making it easier to use.
- Let it dry undisturbed – After decorating, keep cookies in a cool, dry place without touching them until fully set. This helps prevent smudging.
Best Side Dishes for Sugar Cookie Icing That Hardens
When serving sugar cookies, complementing them with delightful side dishes can enhance the overall experience. Here are some great options:
- Hot Chocolate – A warm cup of hot chocolate pairs perfectly with sweet cookies, making for a cozy treat.
- Milk – Classic and simple, milk is always a favorite pairing with sugar cookies, providing balance to their sweetness.
- Fruit Platter – Fresh fruits like strawberries or apple slices offer a refreshing contrast to the rich flavors of frosting.
- Cheese Board – A selection of cheeses can provide savory bites that complement the sweetness of iced cookies beautifully.
- Coffee or Tea – Serve alongside coffee or tea to create an elegant dessert experience with each bite.
- Ice Cream – For an indulgent treat, serve your decorated sugar cookies alongside scoops of your favorite ice cream flavor.
Common Mistakes to Avoid
Using sugar cookie icing that hardens can be tricky. Make sure to sidestep these common pitfalls for the best results.
- Incorrect Consistency: If your icing is too runny or too thick, it won’t set properly. Adjust with more powdered sugar or milk until you achieve a slow-falling, thick layer.
- Skipping Sifting: Not sifting powdered sugar can lead to lumps in your icing. Always sift before mixing to ensure a smooth texture.
- Using Old Ingredients: Using expired vanilla extract or old powdered sugar can affect taste and consistency. Always check the freshness of your ingredients.
- Not Allowing Enough Drying Time: Rushing the drying process will result in smudged decorations. Let cookies sit at room temperature until completely hardened.
- Ignoring Temperature: Icing may behave differently in high humidity or heat. Work in a cool, dry place for the best outcome.

Storage & Reheating Instructions
Refrigerator Storage
- Store icing in an airtight container for up to one week.
- Keep it away from light and moisture to maintain its quality.
Freezing Sugar Cookie Icing That Hardens
- You can freeze the icing for up to three months.
- Use freezer-safe containers and label them with the date for easy tracking.
Reheating Sugar Cookie Icing That Hardens
- Oven: Preheat to low temperature and place icing in an oven-safe dish. Stir occasionally until warmed through.
- Microwave: Heat in short bursts (5-10 seconds) while stirring frequently. Be cautious not to overheat.
- Stovetop: Warm on low heat in a saucepan, stirring constantly until desired consistency is reached.
Frequently Asked Questions
Here are some common questions about sugar cookie icing that hardens.
Can I use regular food coloring instead of gel?
Yes, but gel food coloring provides more vibrant colors without altering the consistency of your icing.
How long does sugar cookie icing that hardens take to dry?
Typically, it takes about 24 hours for the icing to fully harden, depending on humidity levels.
Can I make this icing ahead of time?
Absolutely! You can prepare it a week in advance and store it in the refrigerator.
What if my sugar cookie icing is too thick?
If your icing is too thick, simply add a few drops of milk or water until you reach your desired consistency.
Is this recipe suitable for decorating cookies for special occasions?
Yes! This icing is perfect for any occasion, including birthdays and holidays, as it sets beautifully and allows intricate designs.
Final Thoughts
This sugar cookie icing that hardens is essential for anyone looking to create beautiful decorated cookies. It’s simple, quick, and versatile—allowing endless customization options like colors and designs. Whether you’re preparing festive treats or sweet gifts, this recipe will elevate your baking game!

Sugar Cookie Icing That Hardens
- Total Time: 0 hours
- Yield: Approximately 12 servings (1 tablespoon each) 1x
Description
Elevate your holiday baking with our Sugar Cookie Icing That Hardens, a delightful recipe that transforms ordinary cookies into stunning works of art. Perfect for Christmas, birthdays, or any celebration, this icing dries to a beautiful finish while keeping your cookies fresh and visually appealing. In just five minutes, you can whip up a batch that’s not only easy to customize with vibrant colors but also versatile enough to use on cupcakes and cakes. Whether you’re an experienced baker or a novice, this icing will enhance your cookie decorating experience, making it fun and enjoyable!
Ingredients
- 2 cups powdered sugar
- 1 ½ tbsp corn syrup
- ½ tsp vanilla extract
- 1 ½ tbsp cold milk or water
- Gel food coloring (optional)
Instructions
- Sift the powdered sugar into a mixing bowl to eliminate lumps.
- Mix in the corn syrup, vanilla extract, and cold milk or water until smooth.
- Adjust the consistency by adding more milk or water as needed; it should fall off the spoon slowly yet leave a thick layer behind.
- Divide the icing into smaller bowls if coloring; add gel food coloring to achieve desired shades.
- Use immediately to decorate your cookies and let them dry at room temperature before storing.
- Prep Time: 5 minutes
- Cook Time: N/A
- Category: Dessert
- Method: N/A
- Cuisine: N/A
Nutrition
- Serving Size: 1 tablespoon (15g)
- Calories: 60
- Sugar: 15g
- Sodium: 0mg
- Fat: 0g
- Saturated Fat: 0g
- Unsaturated Fat: 0g
- Trans Fat: 0g
- Carbohydrates: 15g
- Fiber: 0g
- Protein: 0g
- Cholesterol: 0mg


